You can create an audience in Connect by uploading a TXT file containing a list of Twitter @handles or User IDs. It should be one or the other, and never mixed. Depending on the tool where you are exporting this user data from, such as a Social Listening tool, we'd preferably recommend the use of User IDs (from Twitter) when possible.
An export will most likely come as a CSV or Excel file. So first things first, let’s get your file ready - convert this to a TXT format:
- The file needs to contain only 1 column with the list of User IDs, or author handles, one item per line. There are many ways to do this:
- Delete the rest of the data from the document, remove all other columns and rows, as well as column title
- Simply copy and paste the user IDs or author handles into a new sheet (no column titles)
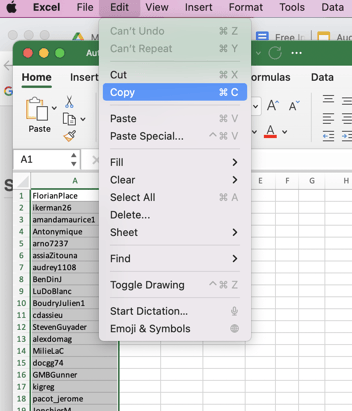
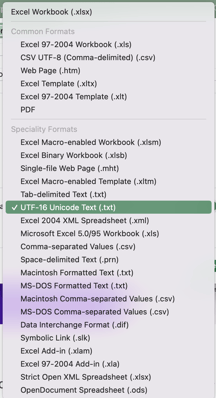
- Save the file as UTF Unicode Text (.txt)
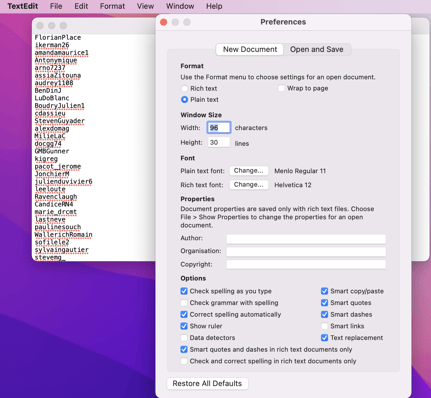
- OR Copy/paste the author handles or Twitter IDs (no column titles or spaces) straight into a tool such as TextEdit.
- The file needs to contain at least 100 individual IDs or handles and a maximum of 1M.
- This means no duplicates. (*You can easily remove duplicates on Excel by selecting the cells, then clicking on Data> Remove duplicates)
Now you are ready to upload!
1. Save the TXT file to your computer and then import back into Audiense Connect to create a new audience.
2. Select Add contact sources from the top Audiences menu, or click on the + sign under Text file imported users on the main dashboard as you scroll passed Audiences. This screen will appear:
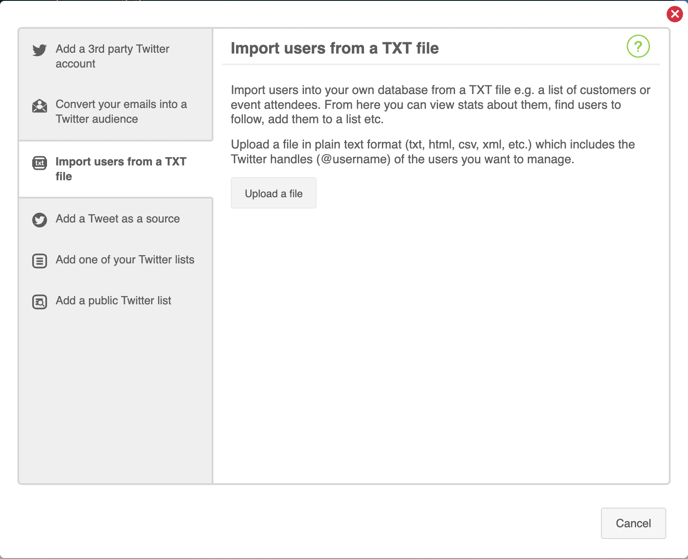
3. Click upload a file and use the file explorer to search for and select the text file from your computer.
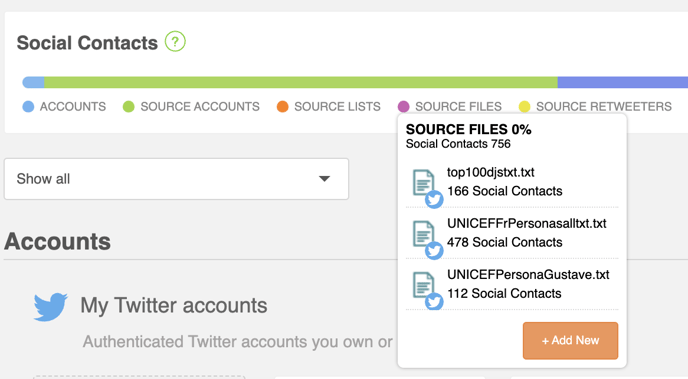
4. When the file has finished synchronizing, the new source panel will appear in the Text file imported users section of your homepage.
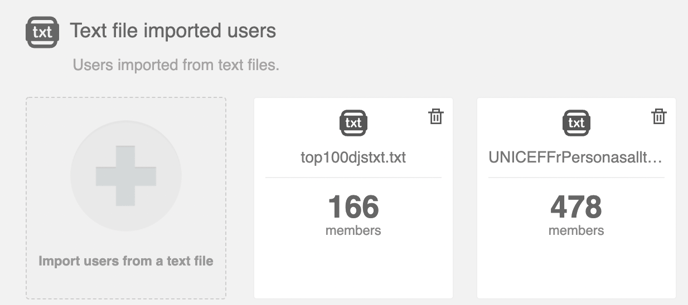
Synchronization may take a while, but you can navigate away from the source and continue using Audiense while you wait, and optionally you can receive an email notification once it is finished.
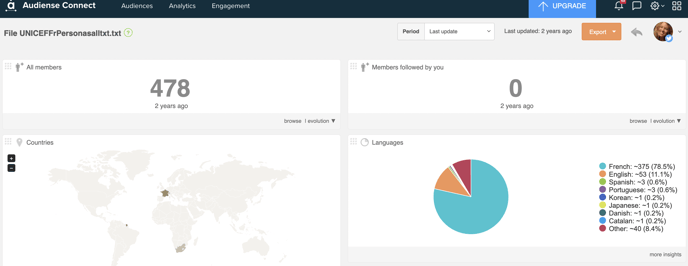
Explore your new source (Audience)
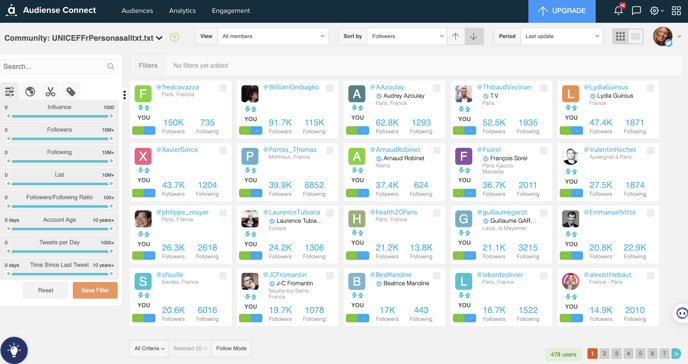
- Click on the top half of the panel (name) to access the source's dashboard, and click on all members to browse the community view.
- Or directly click on the bottom half of the panel (number of members) to access the community view, browse all members and carry out typical community management actions.
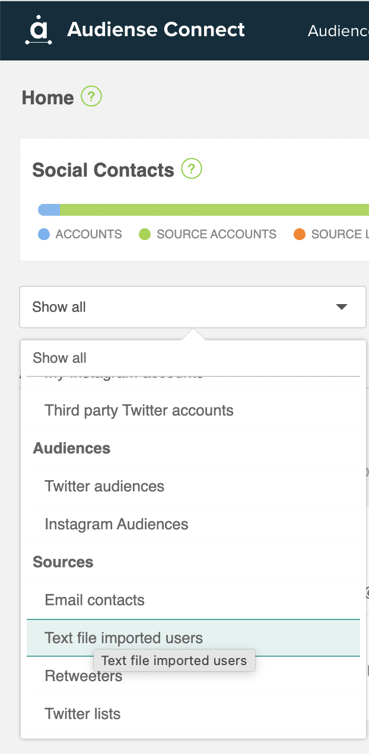
- Remember, you can also access any source via the source drop-down menu on the top left of your homepage, or even via the search bar to the right, if you know the name of the file you are looking for.
- You can use the view on your social contacts bar (if you are the account owner)