Note: The Basic Audience Manager is available to all users. However, users with an Audience Insights plan are encouraged to use the Advanced Audience Manager instead.
Creating an Insights report using the Basic Audience Manager can be done in 5 simple steps:
- Define your audience
- Select segmentation type (Interconnectivity)
- Name your report
- Launch the report
- Wait for the notification and view your report
Step 1: Define your audience
Think of the audience you would like to run your analysis on. This is where you need to define who that audience is, based on a selection of filters:
- Followers of @handle: this can be your current community on Twitter, or your competitor’s
- Job role: this will search for profiles that have defined themselves with this role
- Bio Keywords: information users provide in their profile bio
- Interests: what the users are interested in
- Country: type it in and pick from the drop-down menu if you want to limit it to a specific country
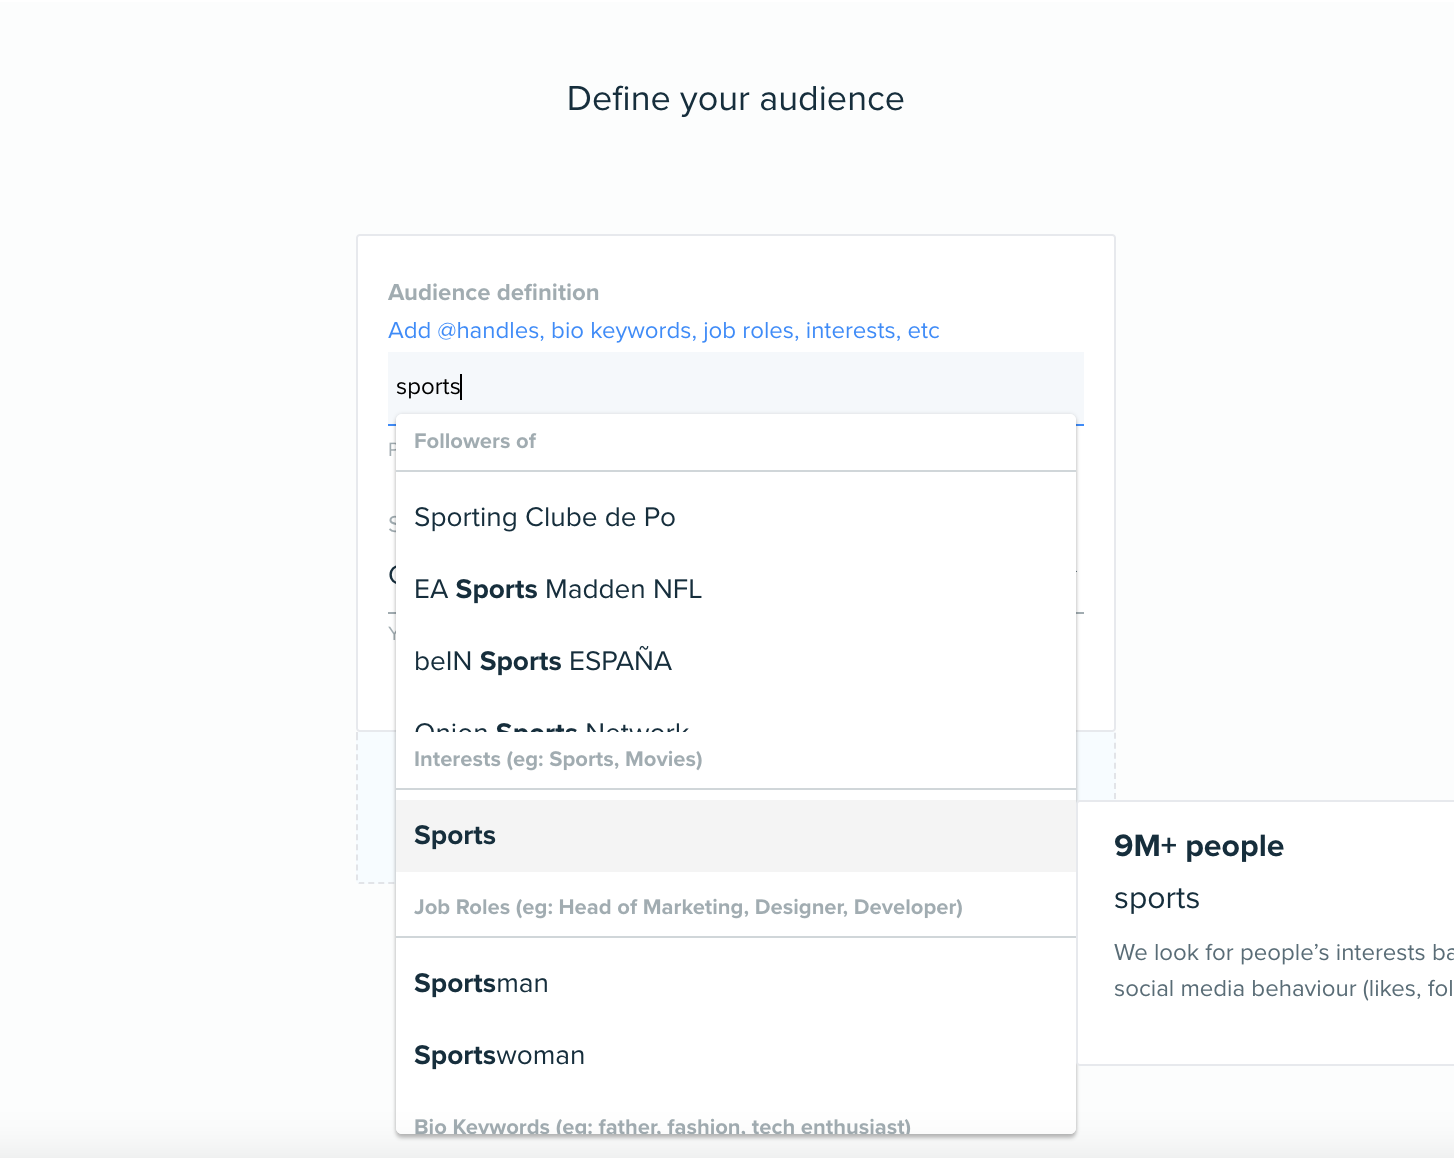
Make sure you select the right category from the options you are given.
You can add multiple options, every filter added will expand the range of the search, acting as an OR boolean operator.
Once you have made your selection press next.
If you select the wrong audience type you are always able to return to the audience type selection page by using the navigation and the 'back button.
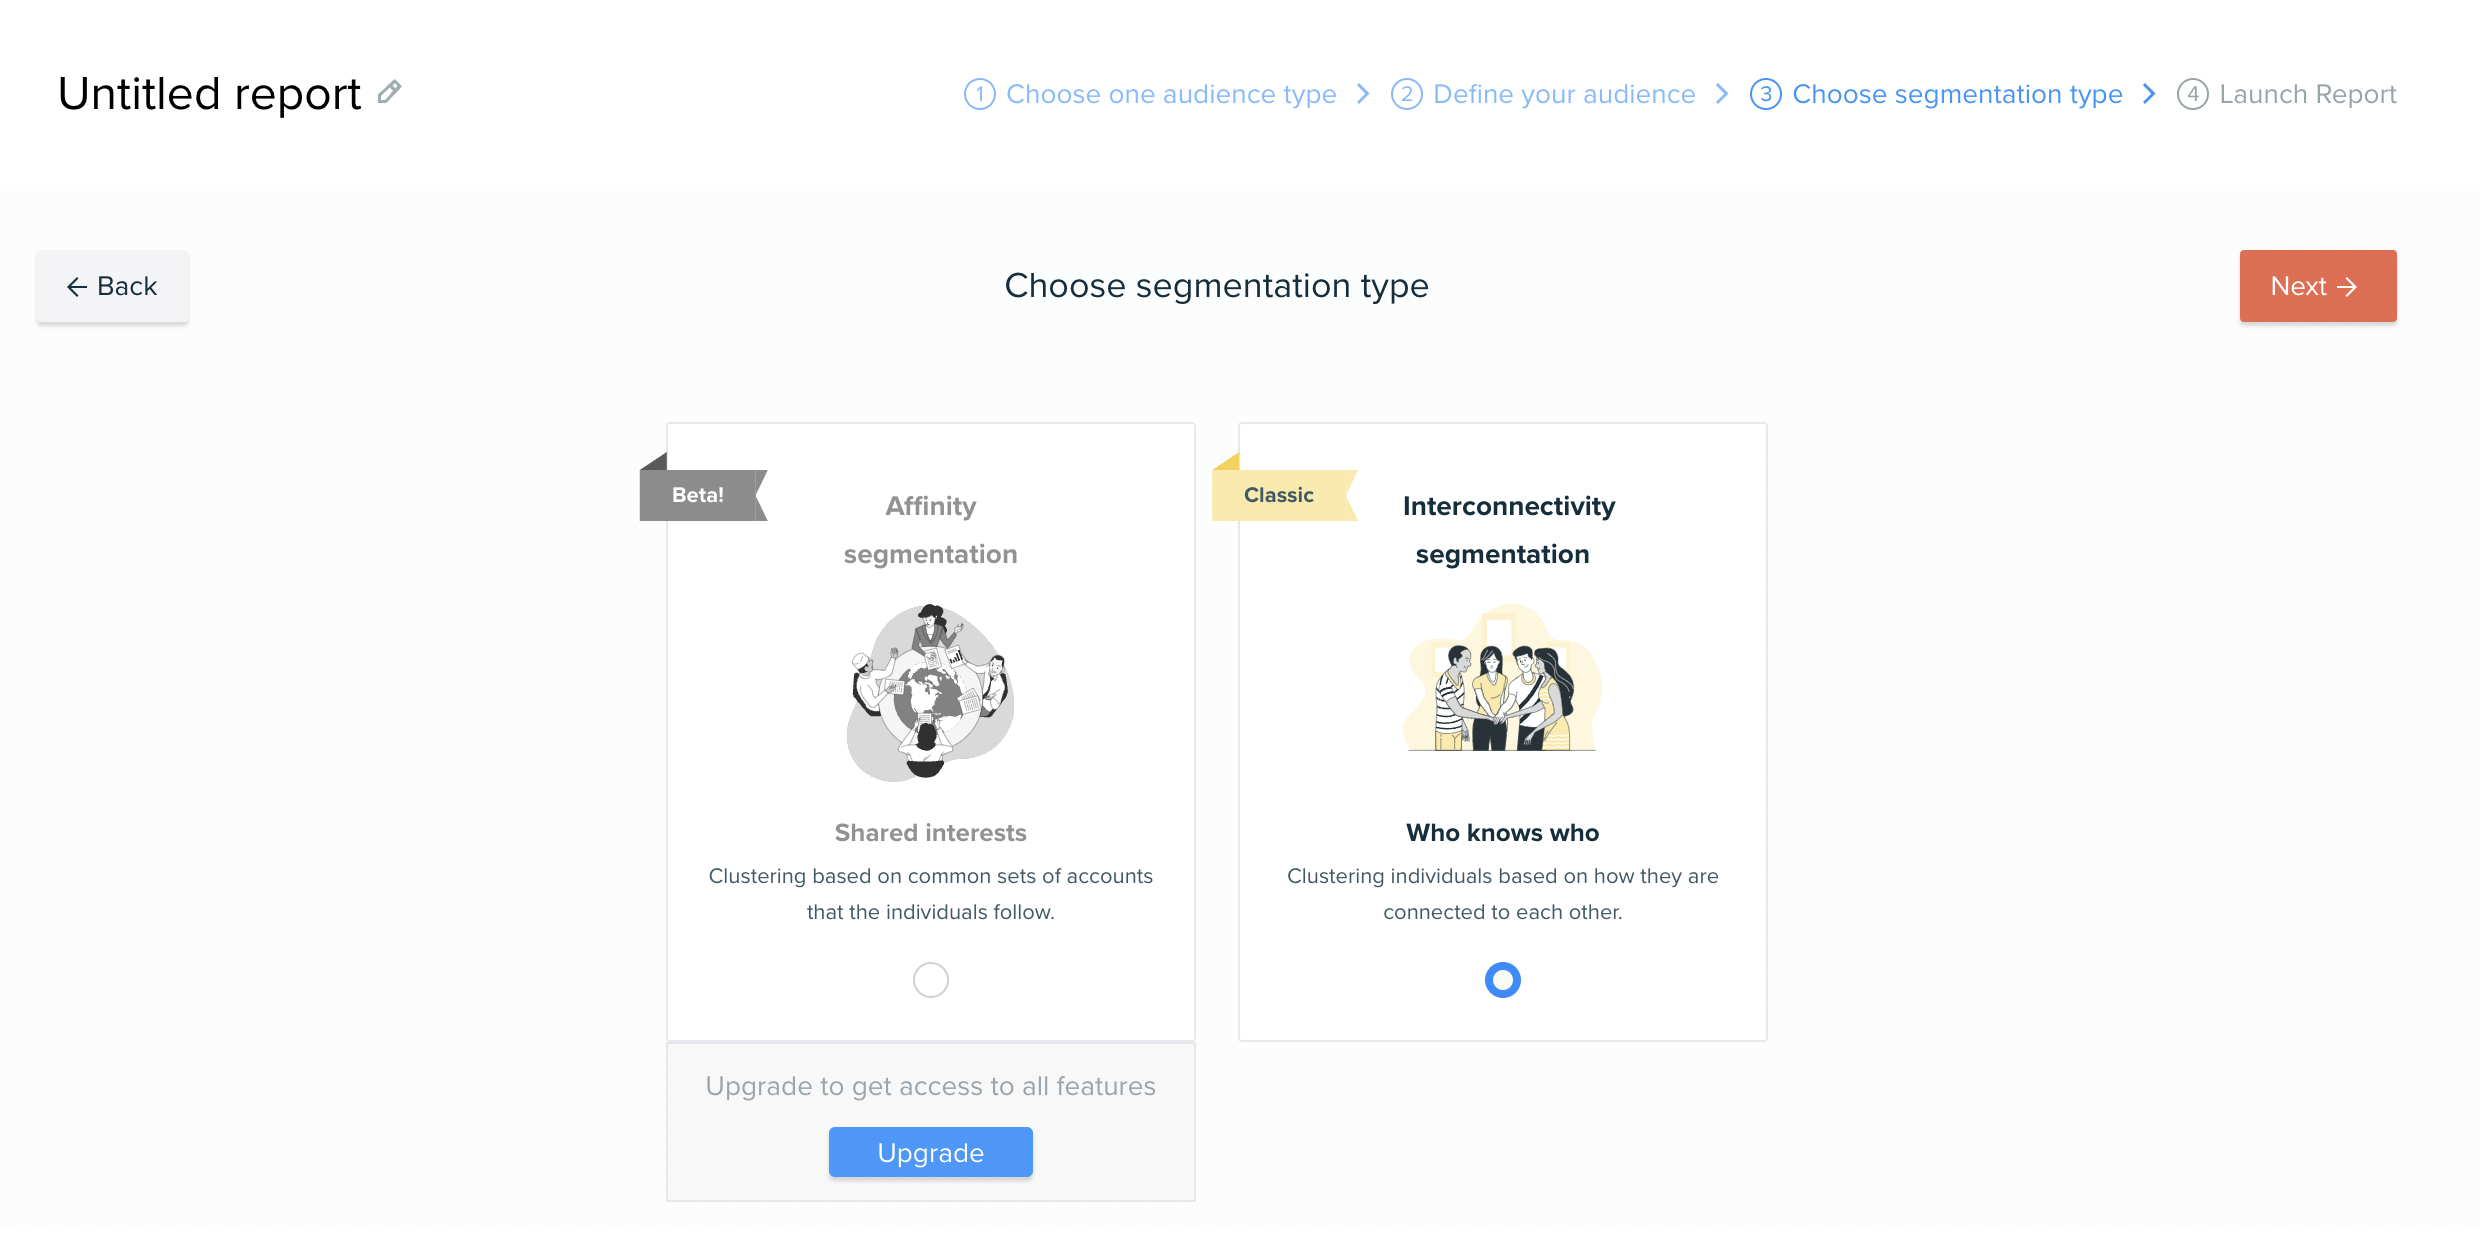
Step 2: Select segmentation type
If you're a free plan user, you will only have the option to continue with Interconnectivity as your method of segmentation.
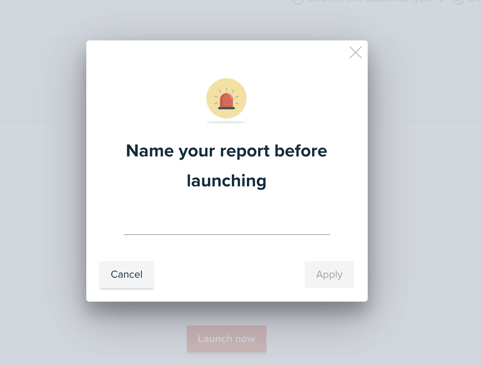
Step 3: Name your report
Once you have created your audience. Click 'Next' and launch your report...If your report is not named, you will be prompted to do so before launching. (Don't worry - you can always edit the name of the report when has finished generating)
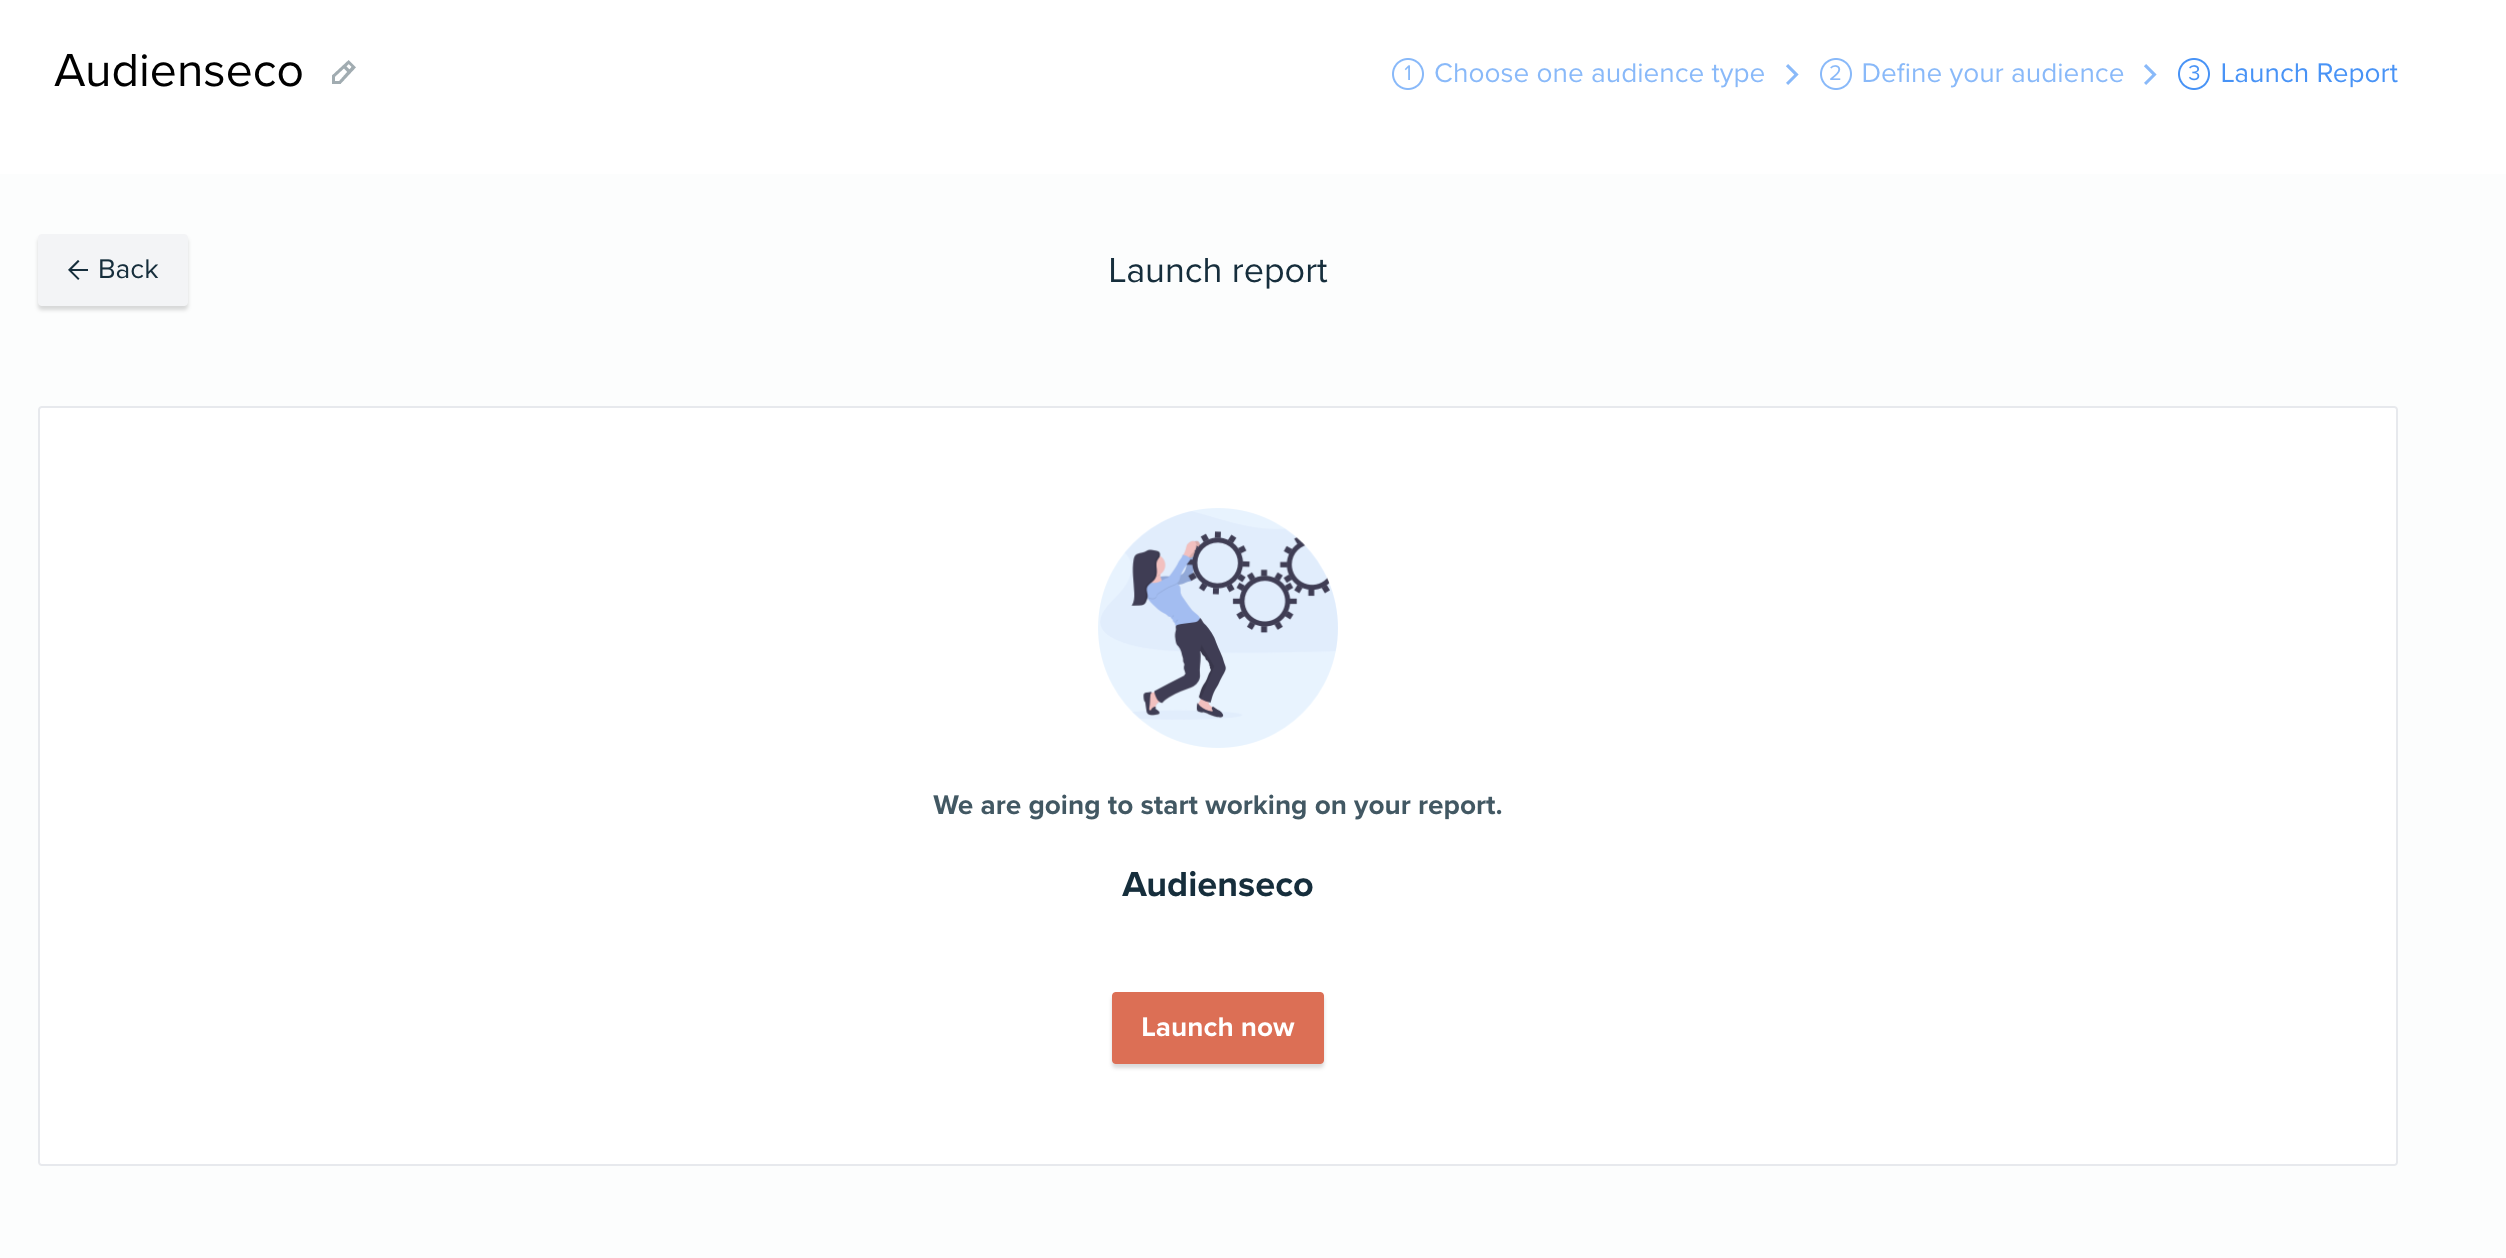
Step 4: Launch your report
If your report is named, you can simply press launch now!
Step 5: Wait for the notification and view your report
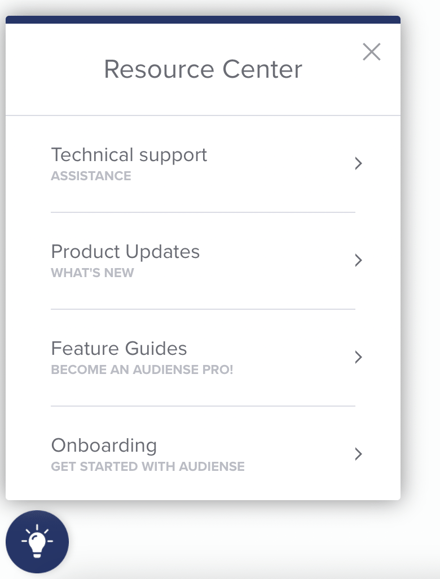
If your report qualifies as a fast report you should receive a notification in a few minutes saying it has been generated. Either way, we will email you when it has finished. In the meantime, why not head over to our resource centre (bottom left-hand corner) and check out one of our guided tours!