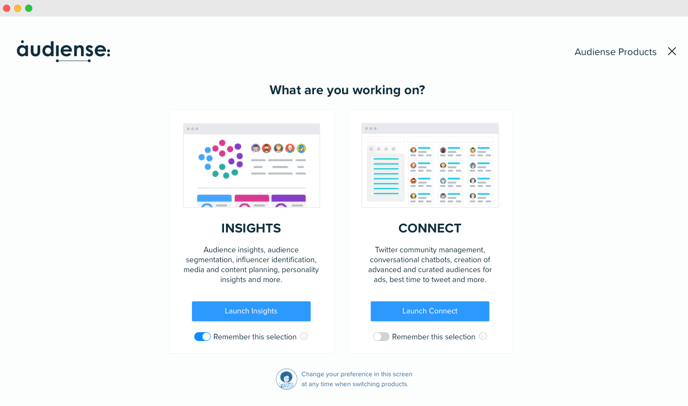
Both Audiense Insights and Audiense Connect are accessible via your account, and connected within the dashboard using the four-square-icon on the top right-hand side of your account at any time.

Creating the audience in Audiense Connect
Reasons for creating an audience in Connect vs Audiense Insights, could be that you want to apply other criteria not available in Insights, but you still want to cluster your audience to identify niche segments to understand the composition of your audience.
To build the audience in Connect, you will want to go to Audiences>Audience Manager to create your audience, or just use an existing audience already created.
Below you will find out how to adjust the audience size not to use up your social contacts allowance if creating it from scratch and a video of how to upload it into Audiense Insights when ready!
Where to adjust your audience size in Connect when defining your audience in the Audience Manager?
Depending on the audience you are creating, it may already have a capped size due to its nature, however many audiences based on criteria such as 'Followers of' can be huge, in their millions or billions. So ideally, you want to be able to adjust the size first so to (1) not use up all of your Connect Social Contacts allowance, and (2) be able to upload it to Insights (capped at 1 million, when uploaded from Connect).
Within your Audience Manager, Static Audience (audience definition window), you will find your max audience size. Here all you need to do is change the number on the left to a lower amount (i.e.600k or 900k) depending on the overall audience size on x, or simply tick random sample (the number will depend on your allowance, but also bear in mind what you wish to do with this audience and why you need such a big size in the first place).


Then select the criteria of choice, but for this example, we are selecting Relationships>Follows any of these accounts (paste or type the handles).

Add any other relevant criteria to build the audience, such as location to finish your definition, and click Finish. Once your audience is ready, you will need to let it generate and synch for 5-10mins. Once it is ready you should get notified, or just check the Connect dashboard by refreshing your browser, and searching for the name in the search box, then click on the member's number.
Then follow the steps in the video below.
Remember, when defining an audience in Insights we limit to a sample size of 250K (this is more than enough to understand your audience, and an audience type to then expand with other use cases - i.e. finding lookalikes; advertising/campaigns). However, if you want a larger audience, you have this option of creating it in Connect first.
Uploading an audience to Audiense Insights that comes from Audiense Connect:
You can upload any audience from Connect into Insights, as long as it has more than 100 members and does not exceed 1 million members within the audience.
Here is how to do this!
Sending audiences from Insights to Connect:
Once you have an audience defined in Insights, or one that you have sent via our Social Listening integrations (or manual author uploads) you can do a lot more with your audience.
Let's say you have an audience in Insights, you have analyzed the clusters, their affinities, and you now want to either expand this audience with additional criteria and build a new one, or extract specific insights from this existing full audience, or even individual clusters. Well, you can do this in Audiense Connect!
Please note: you can send the full audience or individual cluster members to Connect. You will see once sent, in Connect, that the data is generating.
This may take 5-10mins and will be ready as an Audience in your X Audiences section. Use the search field by typing the audience name (report name, or segment name) to find it.
Now what?
Once your audience is in Connect, you can do many things to tailor your audience depending on your use case.
The video below just shows you a few things you can do with the filters and audience manager.
Go into your audience community, and use the filters to find specific members (gender, entity type, country etc), or use boolean in the search box to find those using bio-keywords such as Soccer, or Fashion (could be any keyword to find members using these terms to describe themselves).
You can also select individual members, and use the selected criteria box on the menu below to click on Remove from audience. Once you have done this, just refresh your browser.
Whenever you have modified an audience, you can always create a new audience with these results (use the criteria or selected menu below to click on Add to audience).
However, you can also select this audience in the audience manager itself if you wanted to modify it further or overlay other criteria, under Static audience in the Audiences options, select the relationships criteria, scroll down the options to >members of this audience/source, and add as an AND (just by selecting another criteria this is applied) the criteria you wish to overlay / use (i.e. age range, entity type, location or even followers of another brand) - this allows you to overlay other criteria to create a new audience based on these filters. Your original audience will remain intact.
In this example, we added the criteria demographics (age range) and follows any of these accounts (@Nike).
If you need any further support, please email help@audiense.com