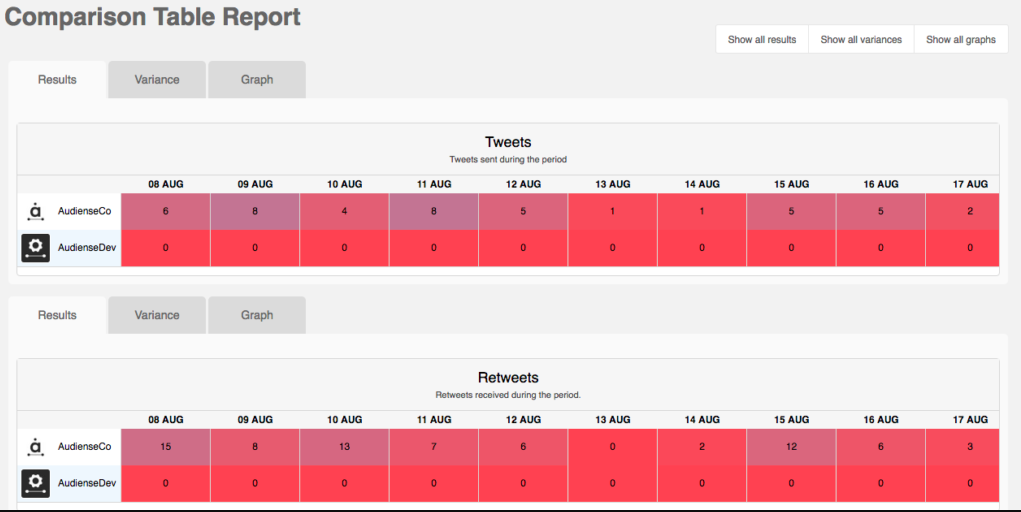
Reports provide a simple and effective way to review and analyse Twitter activity. They are ideal to present data to upper management and are based on fixed templates with simple layouts that showcase information in easy-to-read graphics.
To access reports click Analytics>Reports on the top menu bar.

Each report you have previously generated is represented by a panel.

Click view report to see the different charts and graphs associated with that report.
You can export all reports to PDF or Excel format.
You can filter the reports you see on screen by the frequency they are generated using the buttons below.
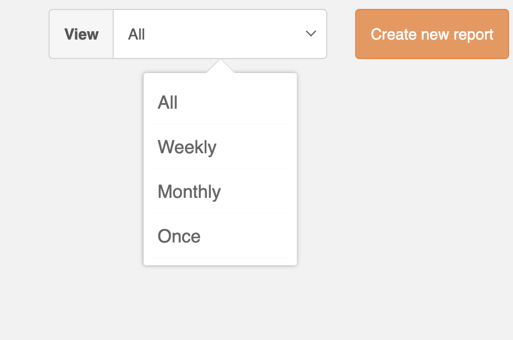
Create a report
1. Click create new to create a new report.
2. Choose a template to base your report on. Click the image of the template for a scrollable preview of the info available for that report to help you decide which one best suits your needs.
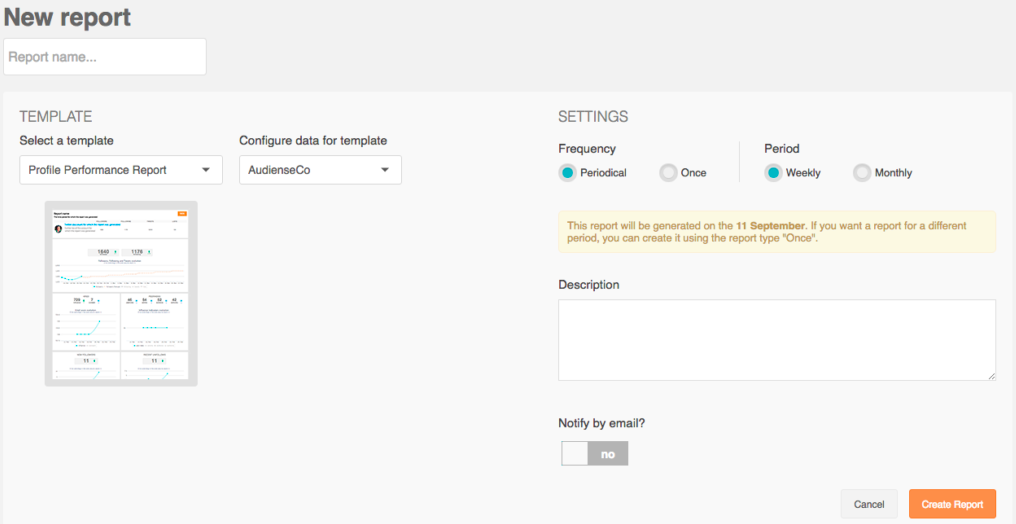
3. Configure the data for the report by selecting the appropriate account(s) and/or sources/Monitorings. Some reports require the account(s) to be owned while other reports can use any public account.
Reports and limitations
Tables can't be imported directly. Please insert an image of your table which can be found here.
Nº Report Owned account Source account Any public account Source members Monitoring members Min – Max Profile Performance Follower Intelligence Following Intelligence Content Optimisation Audience Intersection [1] [1] Affinity [1] [1] Comparison of Activity [1] [1] Comparison Table- Professional users of the Audiense Community Manager can access reports 1 to 4.
- Enterprise users of the Audiense Connection Platform can access reports 1 to 8.
[1] As the report allows any public account you can include any public owned account or source account.
4. Give the report a name and add a description if desired. If the report is recurring we recommend you outline the frequency in the name, e.g. ‘Monthly Following Insights for Audiense’.
Select the frequency and the period (weekly or monthly) if available for that report. If you set the frequency as onceyou must use the calendar or period menu to specify the timespan of the report. Click apply to select the period.
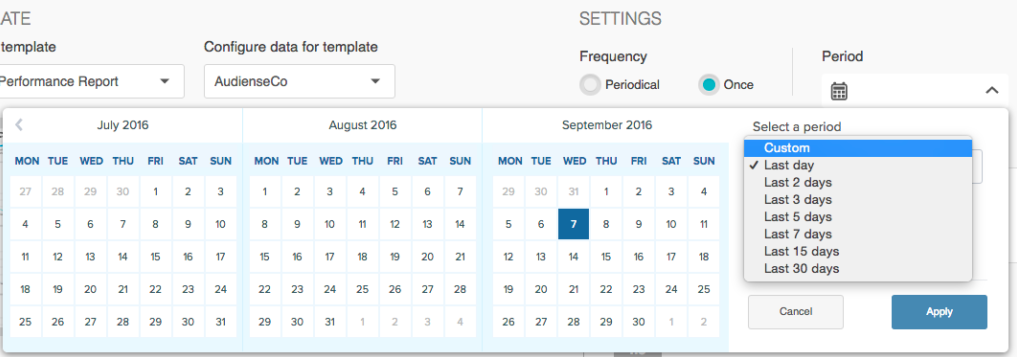
5. Click create report to finish.
View a report
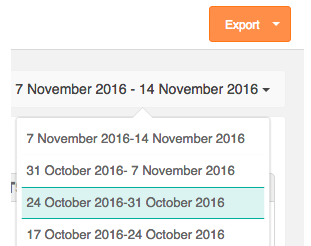
At the top of the screen you can see the name of the report and it’s time period. If the report is periodical you can select the specific report dates you are interested in using the period drop-down menu.
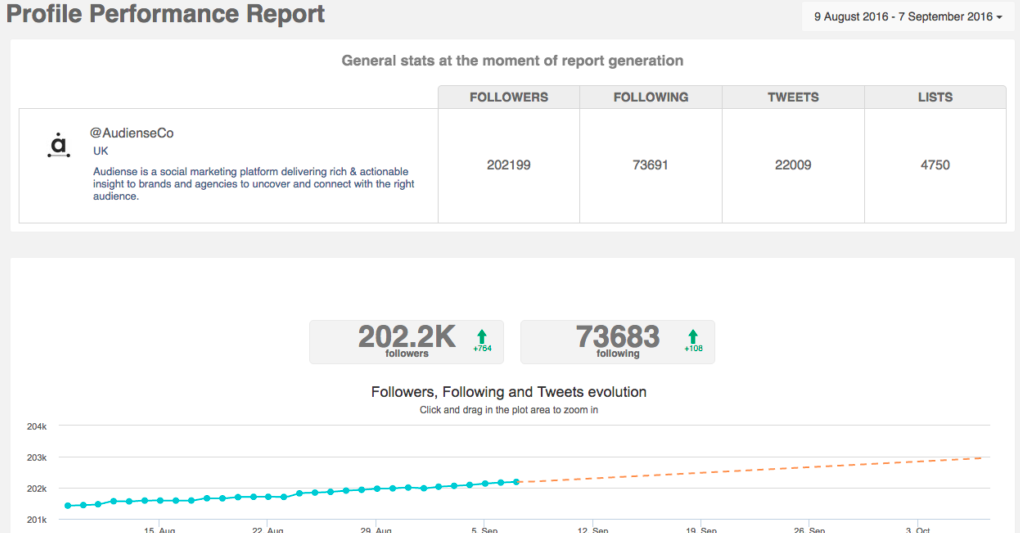
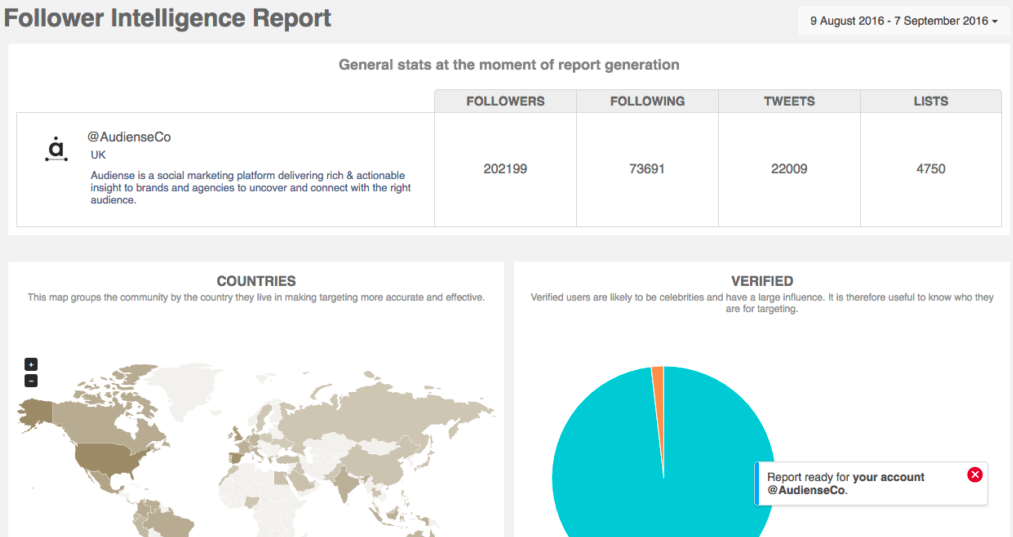
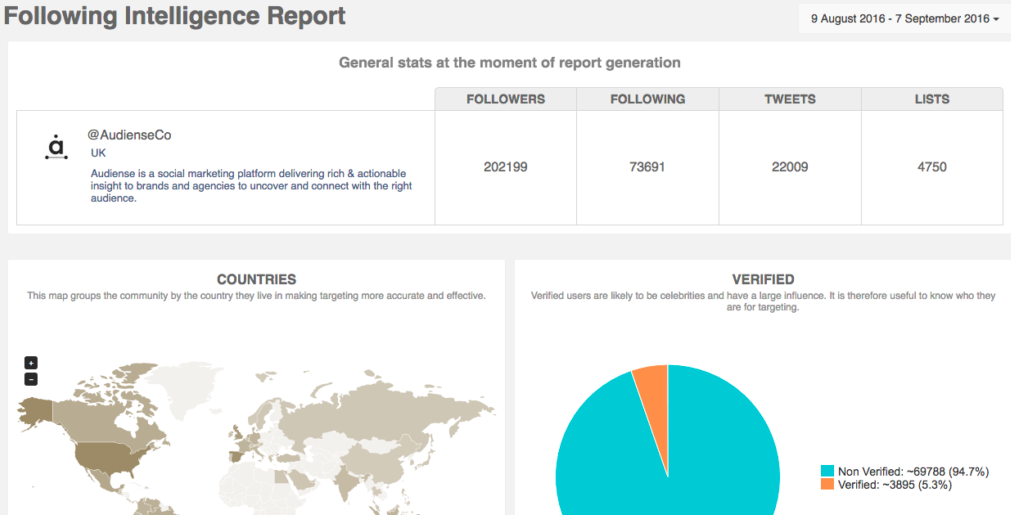
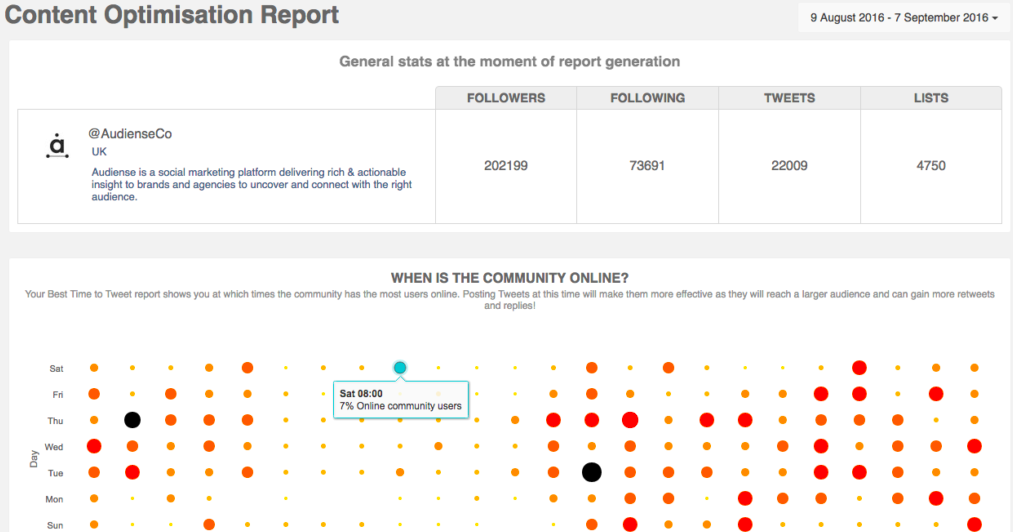
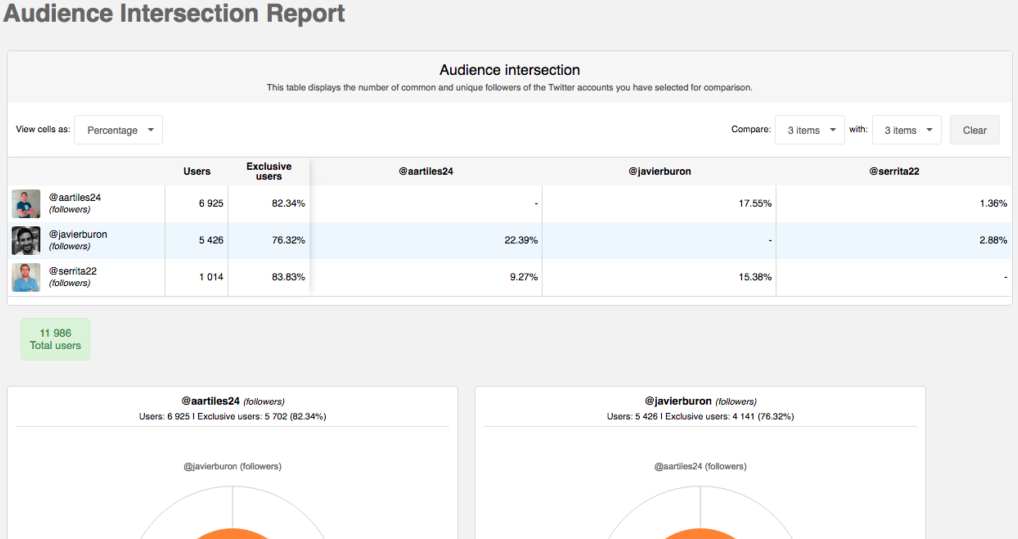
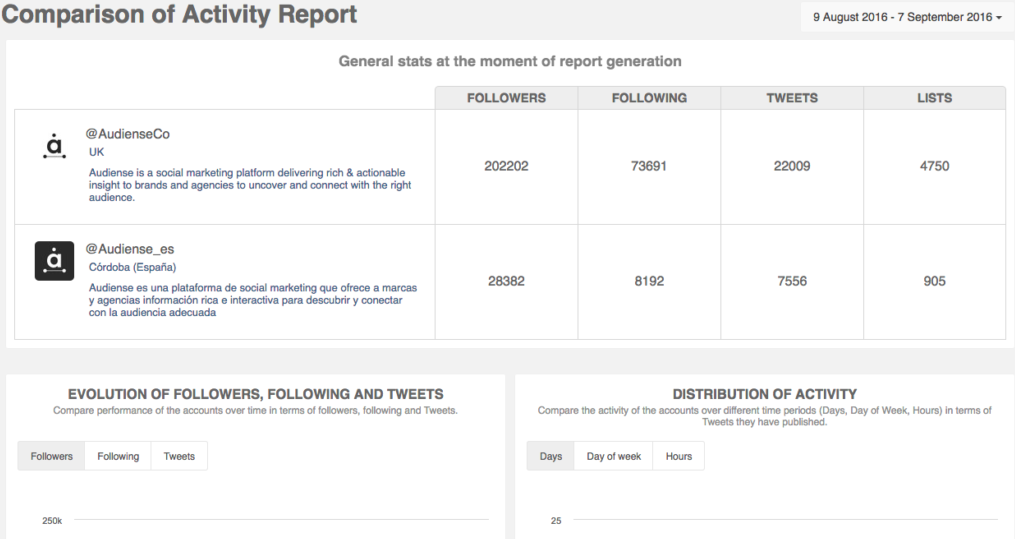
The header panel of most reports (all reports except the Audience Intersection report, the Affinity report and the Comparison Table report) shows the avatar and bio plus the number of followers, following, Tweets and lists of the account(s).

The number of lists is useful as a measure of influence. This refers to the number of lists that the account has been added to, not the number of lists that the account has created.
The rest of the information contained in the report is dependent on the type of report. Click the links or images below to see more details about individual reports.
Paid users can access the following four reports
-
Profile Performance report
-
Follower Intelligence report
-
Following Intelligence report
-
Content Optimization report
Only Enterprise users can access the following four reports
-
Audience Intersection report
Read more here
-
Comparison of Activity report
-
Comparison Table report
