This article will explain how to create and launch an insights report, as well as the different audience types you can choose from.
When creating an insights report, you will have 3 types of audiences you can define:
1) Profile Attributes
Define your audience by using criteria/filters such as Biography (Bio keywords used in profile bio), Followers of an account/influencer (inferred interest from whom they follow), Job title (which can alternatively be placed in bio keyword, due to many users placing their position in their bio), Location (location on their profile), Age (choose an age range when you want a specific generation), Gender, Entity type (when you want individuals vs brands, or vice versa), and Language (if you want audience members who are posting in a specific language other than English). Please see a more detailed description below, toward the end of this article.
2) Conversations
The Conversation-Based feature helps you build an audience by using keywords, hashtags, or URLs, with support for Boolean logic to refine your criteria. It captures up to 20,000 tweets within a selected timeframe of 1 to 90 days. While it’s not a full social listening tool, its strength lies in identifying who is behind the conversation, rather than analyzing the conversation content itself.
3) Upload your own audience
You can upload a TXT file with authors or twitter IDs of members that were part of a conversation (social listening), survey, event, or other lists, as long as you have their @handles or IDs. You must have 100+ to create any report.
Note: Users with a Free plan or a Twitter Marketing plan, can only access a limited version of Profile Attributes, using the basic audience manager. Whereas, users with an Audience Insights plan can use Profile Attributes with the advanced audience manager, as well as the option to use Conversations and Upload your audience.
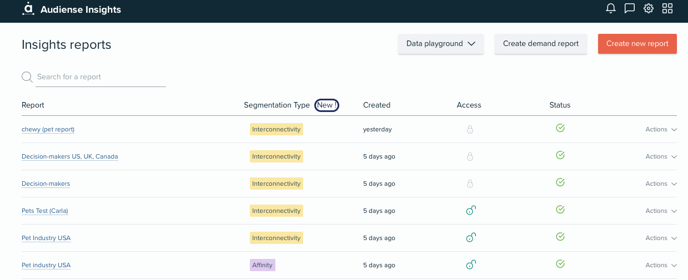
Launching an Audiense Insights report
- Click on Create new report in the top right-hand corner.
- Name your report
- At any point during the creation process, you are able to name/edit the name of your report using the text box on the left-hand side of the page or via the actions button on the homepage.
- Define the audience you'd like to analyse in the report. You will have the option to create your audience based on three data options: profile attributes, conversations, or upload your audience (described in more detail below this section)
-
Once you have made your selection, press Next.
-
If you select the wrong audience type, you are always able to return to the audience type selection page by using the navigation and the 'back' button

-
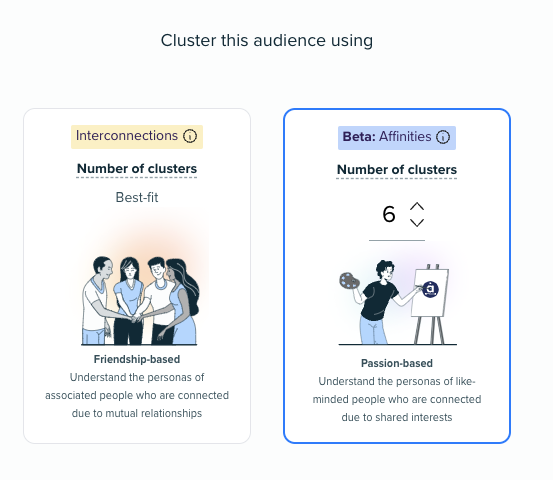
- Select your segmentation type:
- Affinities - those who follow similar accounts: shows segments with inferred interests based on the type of accounts they follow
- Interconnections - those who are connected within the audience, follow each other: shows segments with inferred interests based on connections (why they are connected)
Find out more about our Segmentation methods in Insights reports here
Please note: Our Free plan, and Twitter Marketing plan only provides the use of Interconnectivity segmentation. The Audience Insights plan provides both methods of segmentation.
- 6. If your report is named, you can simply press Next and launch your report!
If your report qualifies as a fast report, you should receive a notification in a few minutes saying it has been generated. Reports with a variety of filters to define the audience can take longer due to exclusions applied by choosing specific criteria. Either way, we will email you when it has finished.
Audience Types Explained
Based on Profile Attributes:
Through the Basic Audience Insights Manager or Advanced Audience Insights Manager (Note: the Advanced Insights Manager is only available for paid subscriptions)
1. Basic Audience Insights Manager
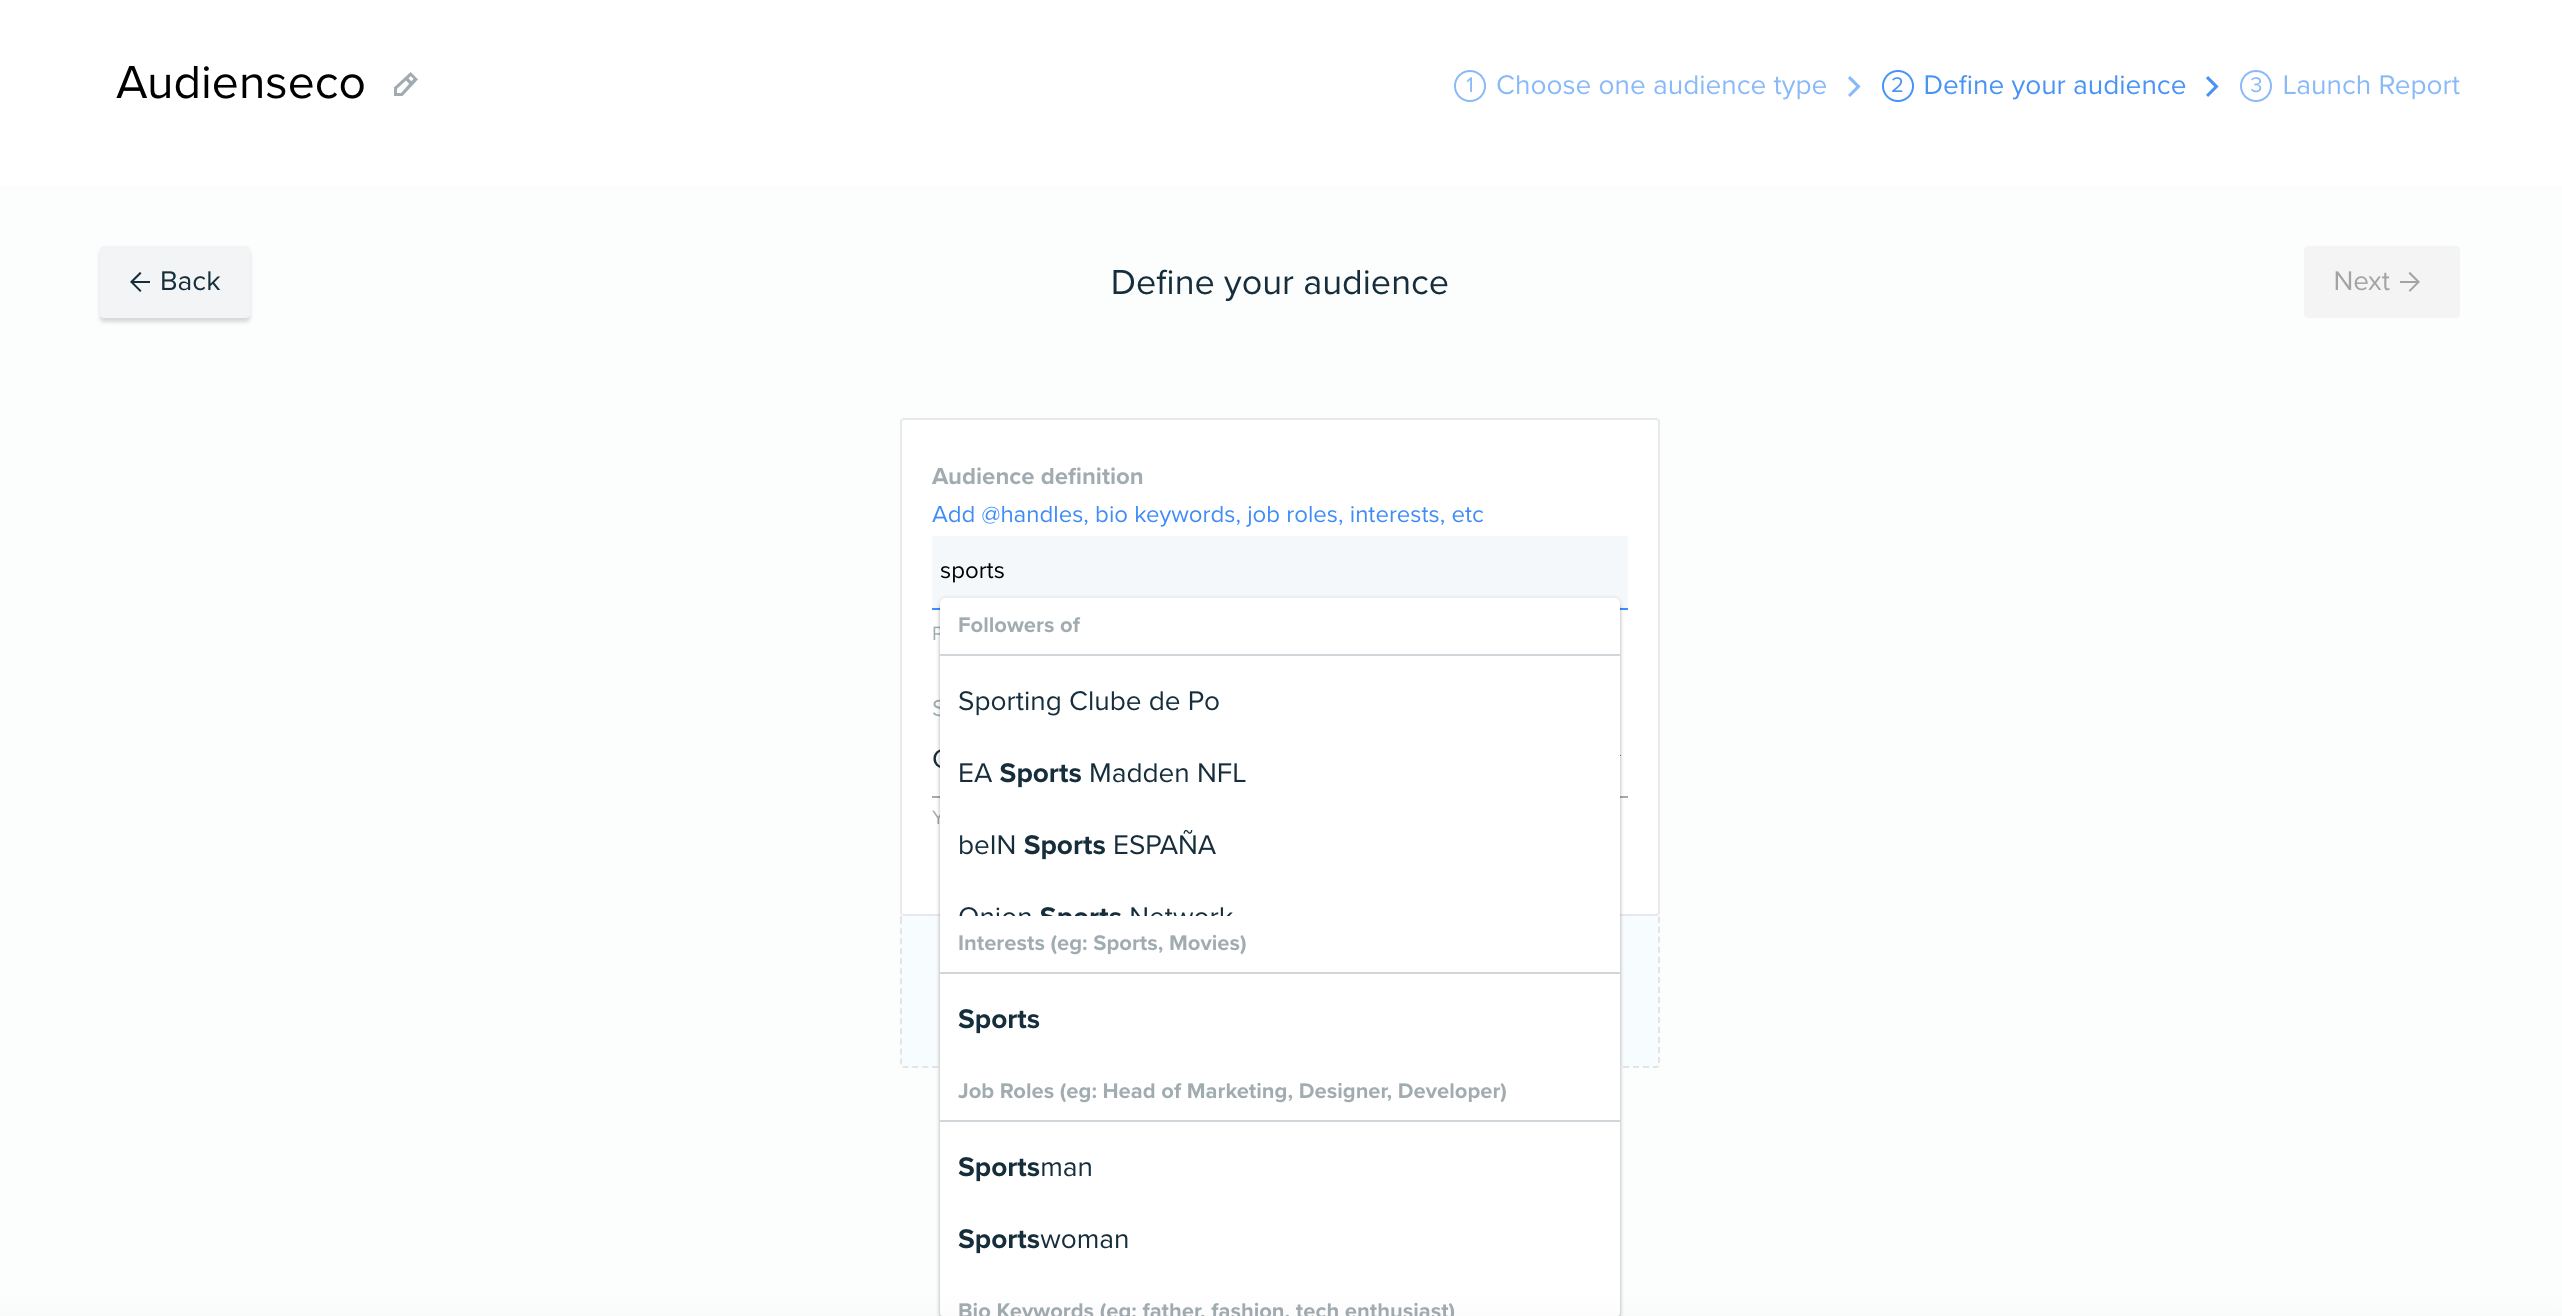
Combine filters to create your perfect audience: Country (dropdown), then interests, Job title, Bio keyword, Followers...
Interests, Job title, Bio keyword, Followers: You can type any of them in the free text field:
- Followers (following a Twitter handle)
- Interests
- Job title
- Bio keyword
And select from the drop-down..... eg: 'sports'
Country: This is a drop-down list, click and scroll to select the country you'd like.
You may add more than one term. However, the audience will be made up of at least one of the criteria listed, not a combination (in addition to the country).
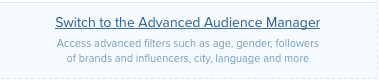
2. Advanced Audience Insights Manager:
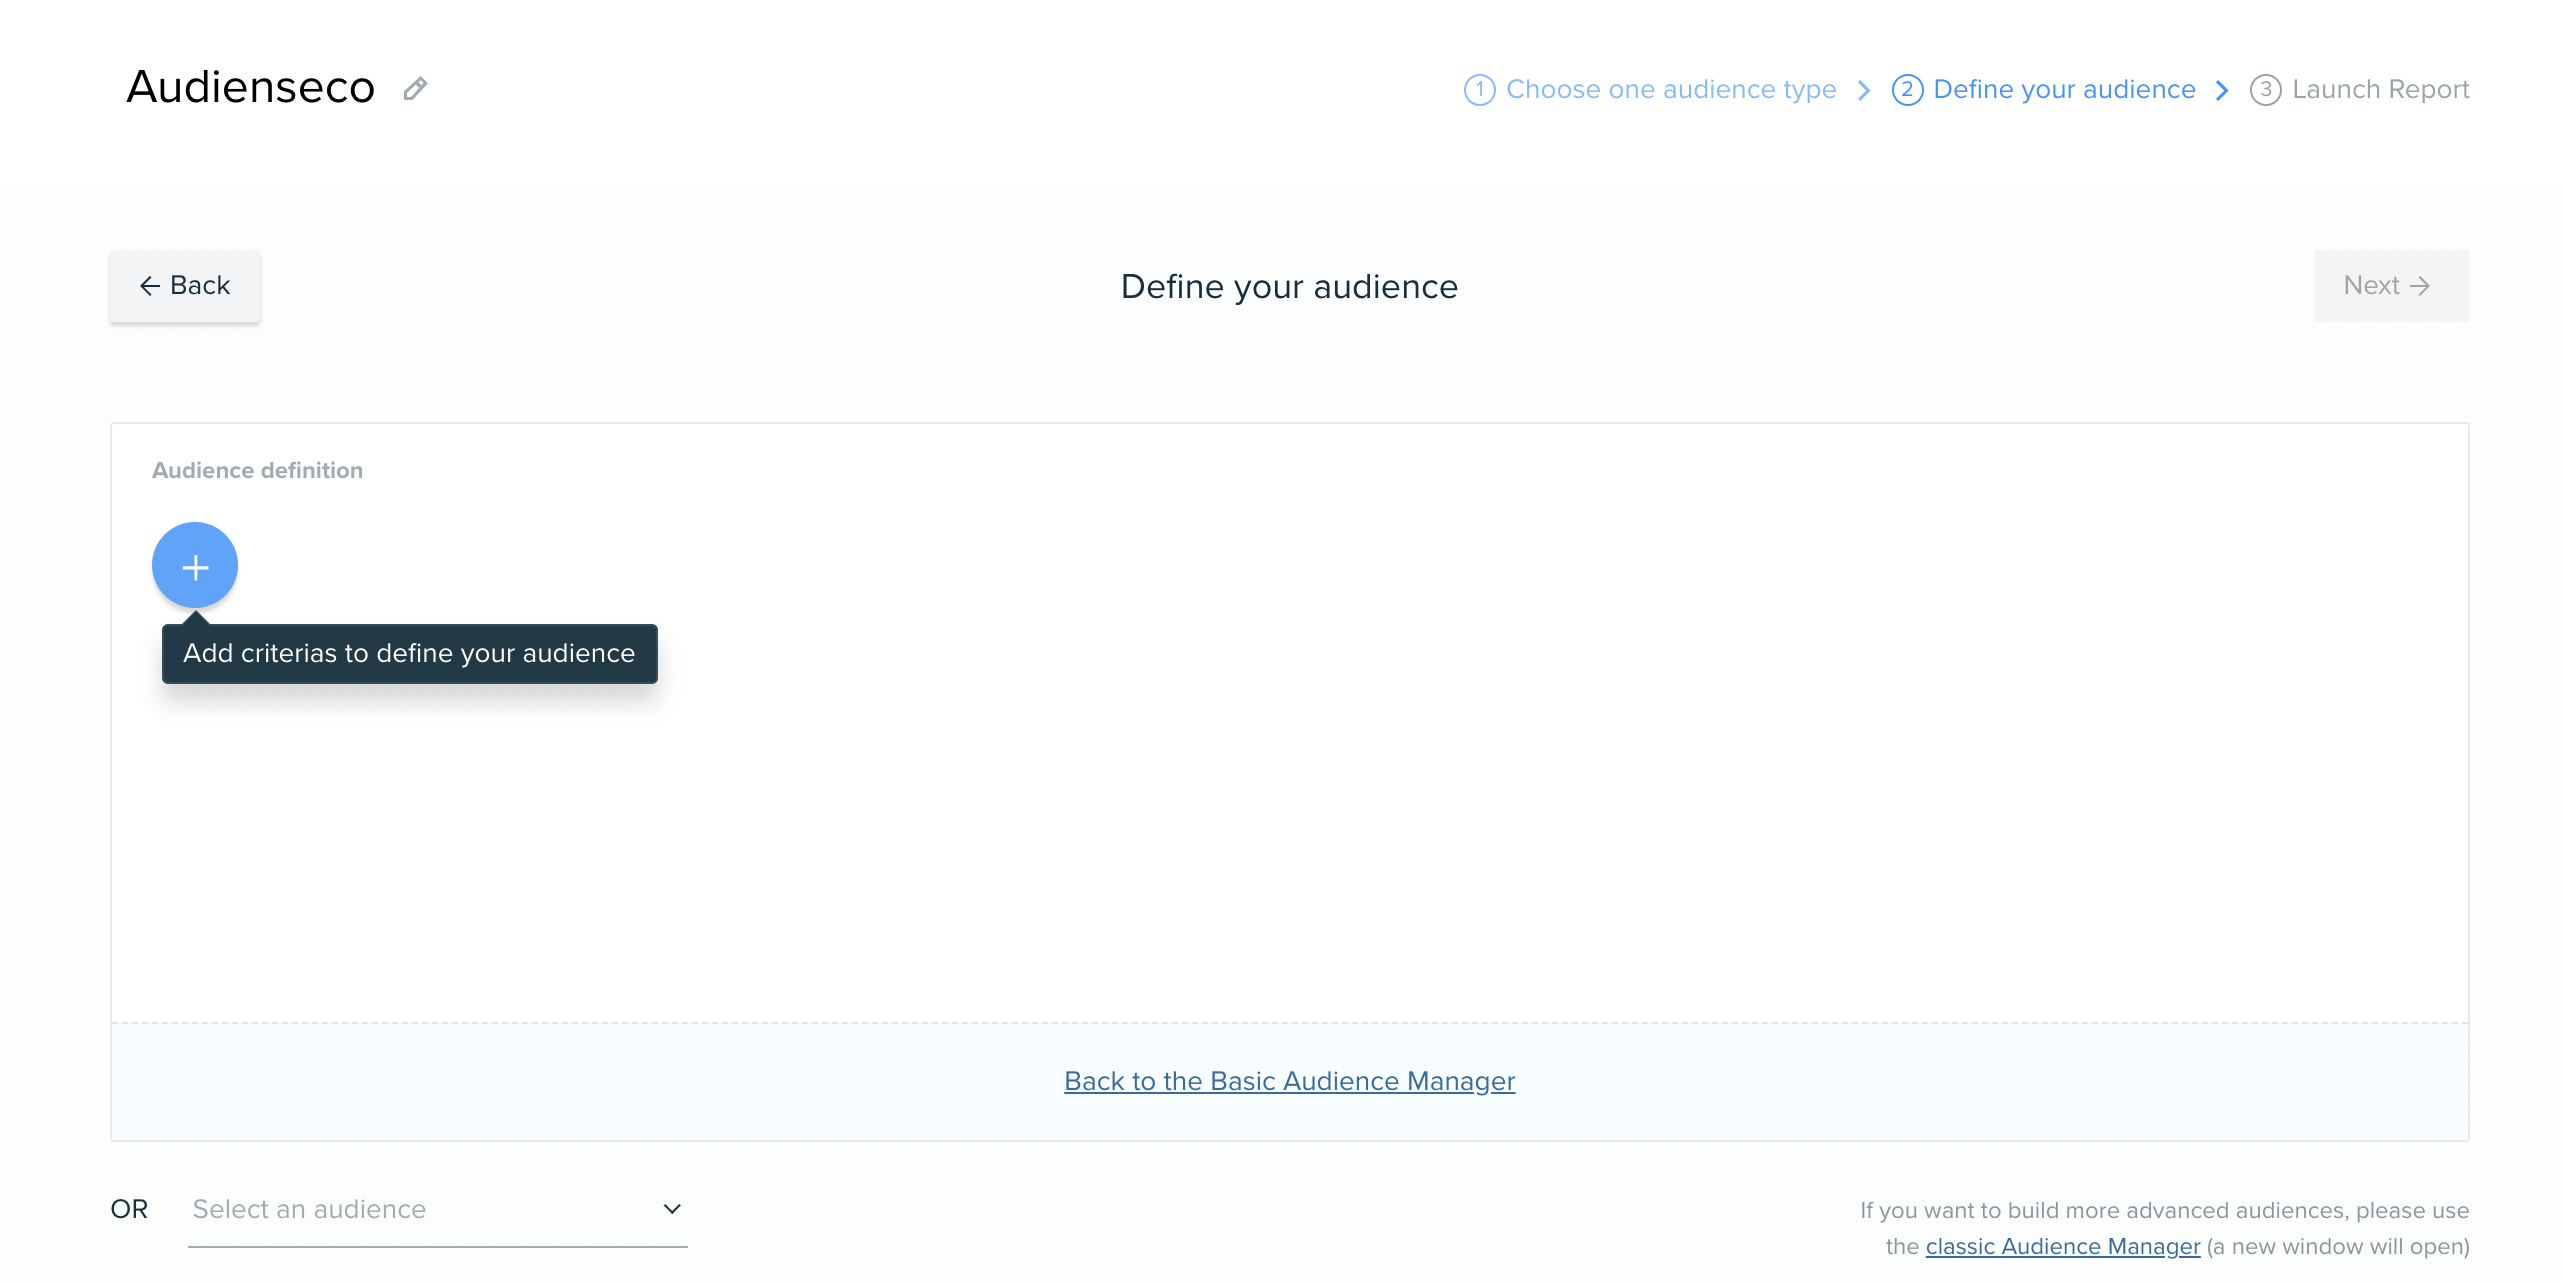
This is one of Audiense’s most powerful features, which allows you to define and create very detailed and targeted audiences. Select 'here' at the bottom of the basic audience insights manager page to switch to the Advanced (recommended if you have a paid subscription).
Select the  button and create the perfect audience for you by using the filters provided.
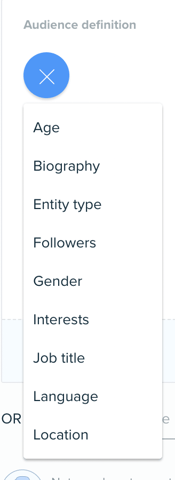
There is a wide variety of filter categories: age, biography, entity, followers, gender, interests, job title, language or location. Click 'Apply' every time you add a new filter. Want some ideas around the perfect filters to use to create your target audience? Check out this article! (Profile Attributes - filters explained)
Criteria you are able to select include the following:
When you have correctly identified your audience criteria, then select and click next to follow the above steps in choosing segmentation type and launching your report.
Remember this Advanced audience manager supports:
- Boolean operators: this means you are able to use the OR or AND to apply additional features/criteria. For example:
- Finding people based in Spain OR the United Kingdom
- Finding people based in Spain AND the United Kingdom
- Finding followers of @account AND in United Kingdom AND aged 18-24
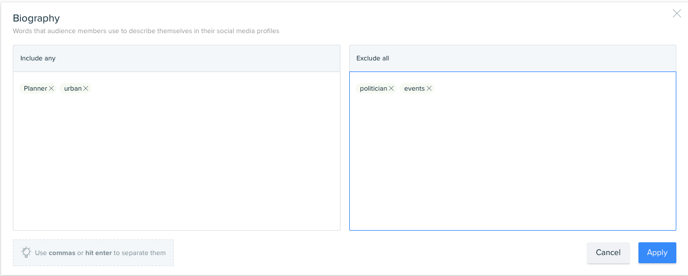
- Inclusion and exclusion rules are also available
- Followers of @account NOT following @account
- Biography (description of position, or other words that describe members) excluding other Bio keywords
- Example: Planner, Urban NOT polititian, Events
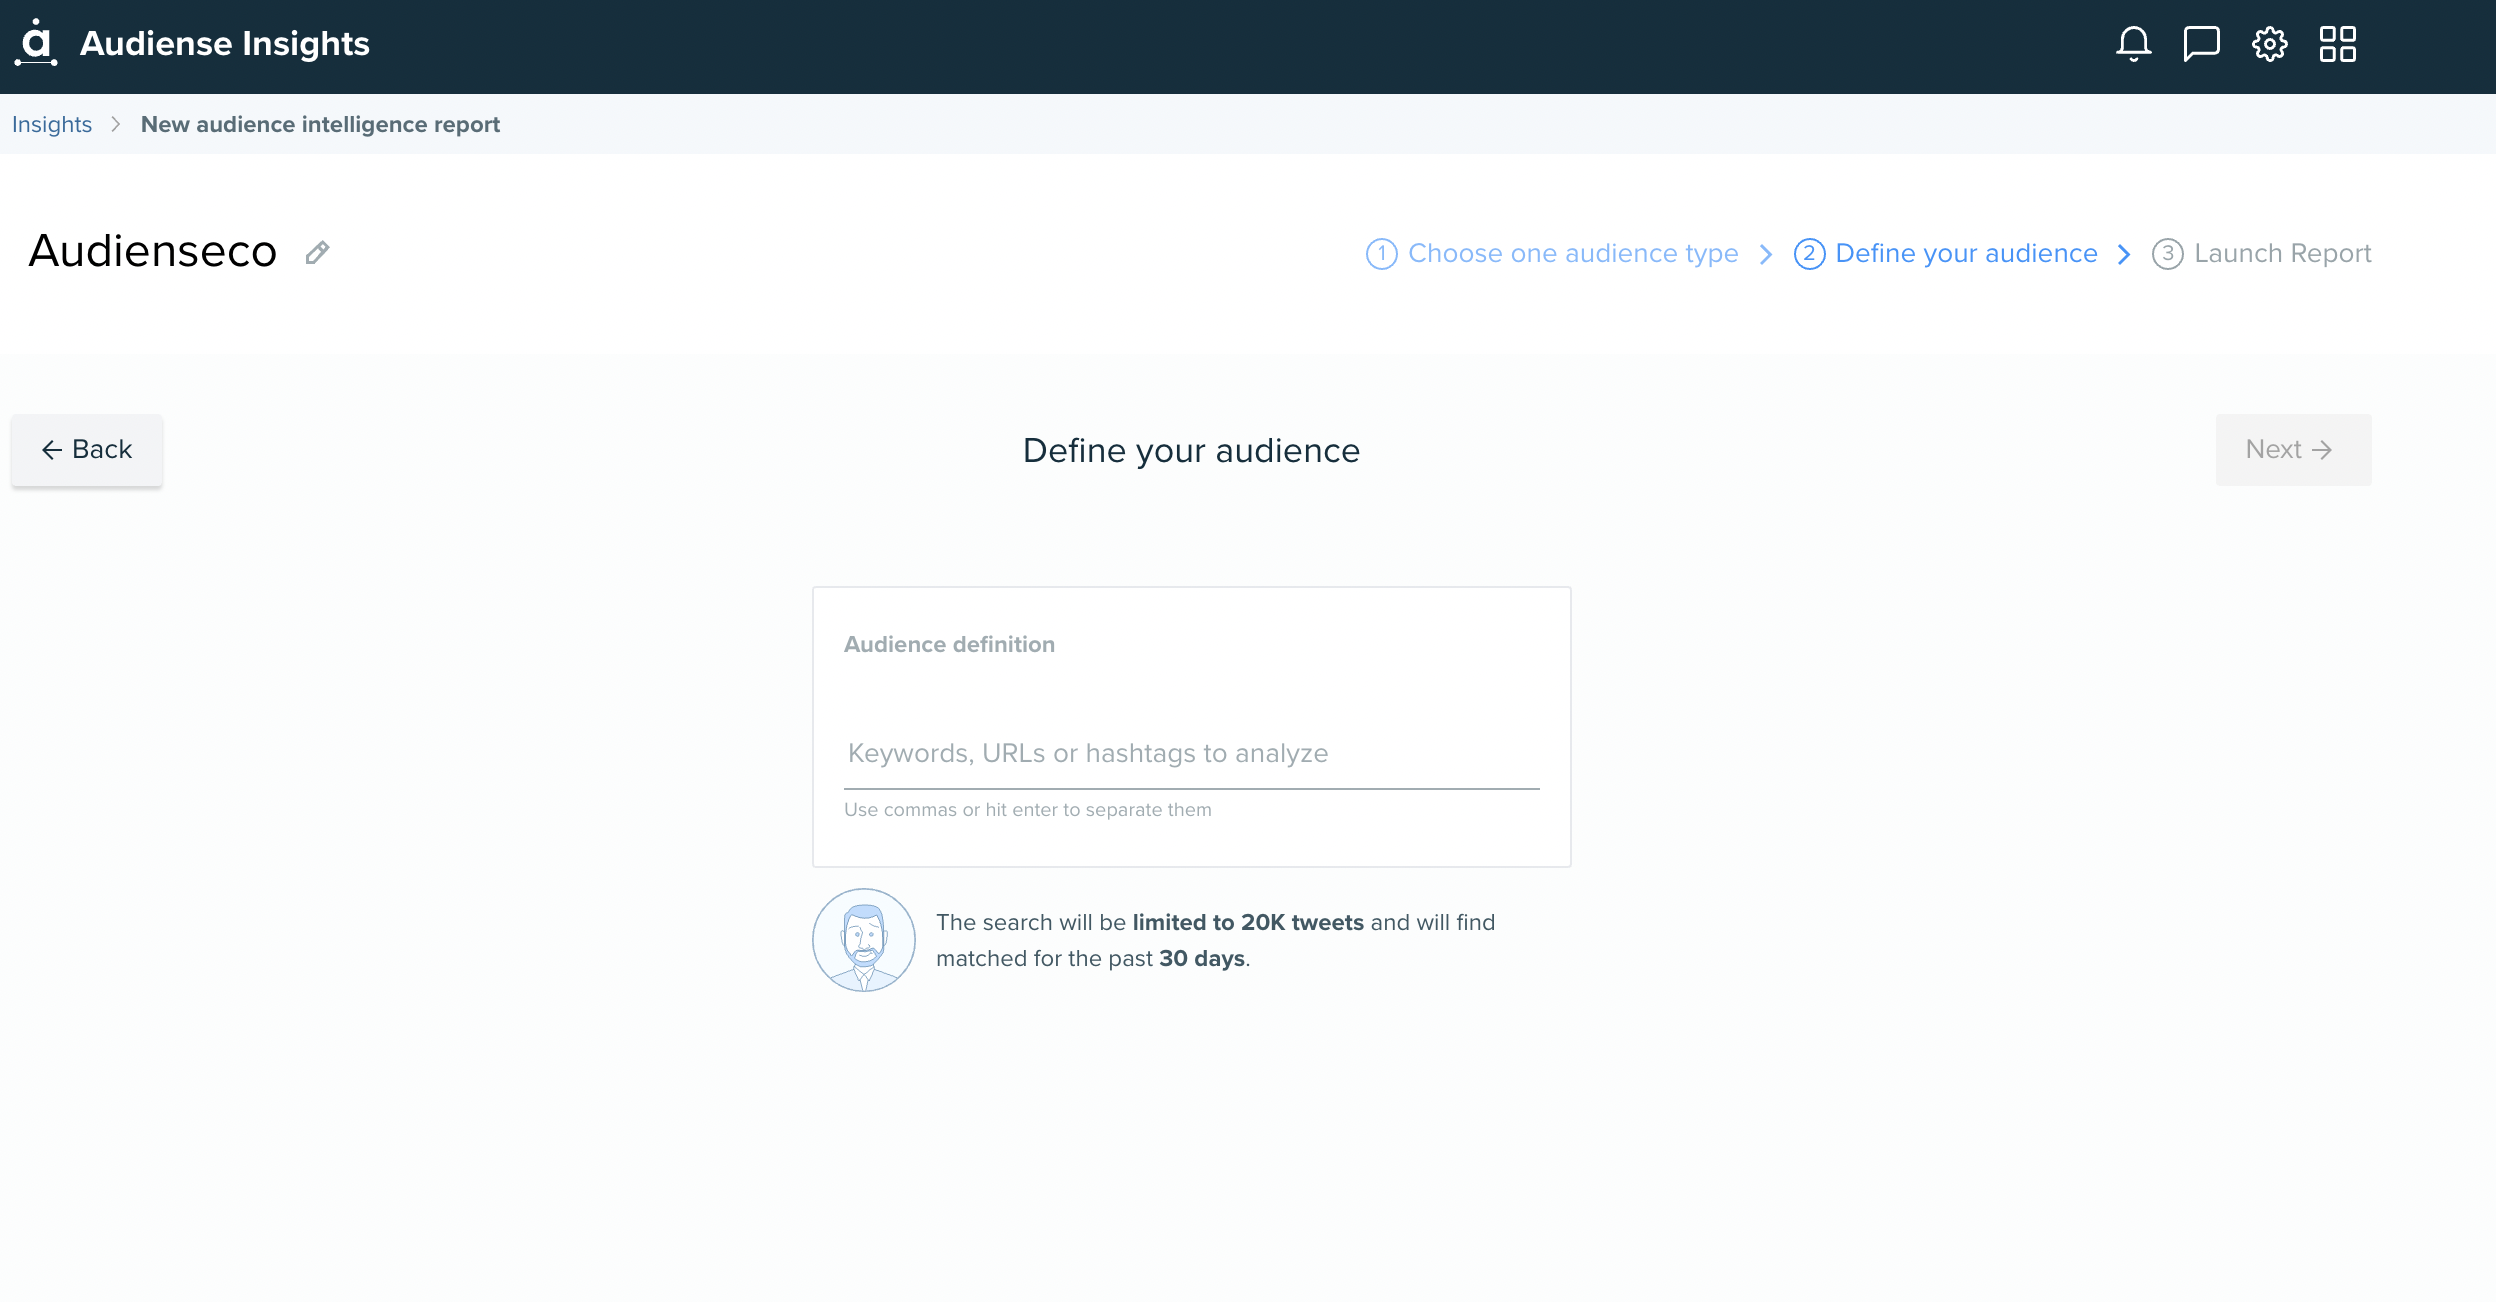
Based on Conversations
Type the keywords you'd like to monitor and separate each by either a comma or by hitting enter. This could be the keywords/hashtags, handle mentions (twitter handles) or URLs.
Please note: The search will be limited to 20K tweets and will only find matches for the past 30 days.
This is not monitoring a conversation, like social listening tools do, so please bear in mind this will only identify the audience using these hashtags or keywords, show their segmentation and other insights - not the conversation or sentiment.
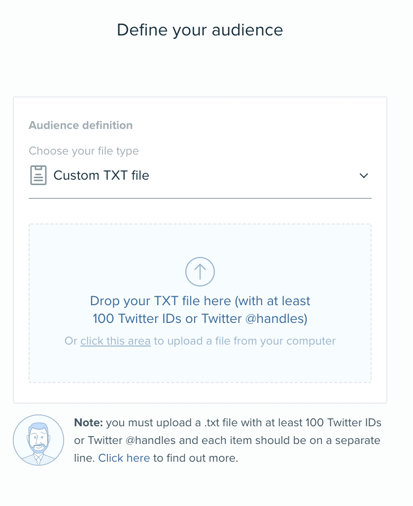
Based on an upload (i.e., export from Social Listening)
Create an audience for your report by uploading a TXT file containing a list of Twitter user IDs OR a list of Twitter Handles.
First select 'Upload your audience' option.
You will then be asked to upload this file (in TXT format). You will need at least 100 Twitter user IDs OR Twitter handles for this report to generate, and each ID should be on a separate line.
Once you have uploaded your file, press Next and launch your report!
If you need any support with this type of audience, the steps are defined in this article
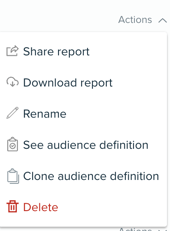
Clone your report definition
If you’re creating a new report based on a previous audience definition, you will find it easier using our ‘clone audience definition’ feature. Additionally, if you want to create a report with the same definition as a previous report, as well as some newly added criteria, this feature will help you.
In the report list on your main dashboard, via the actions menu, you will find an option for Clone audience definition.
This will open the 'Define your audience' window with the definition added, from there you can edit it by removing or adding criteria. Once you are ready, click next, choose the segmentation type you want, and launch your report!
If one of your reports failed to generate, you can easily use the ‘clone audience definition’ feature to start again and add/remove criteria so that it has another chance to generate. It may be that the segmentation type you chose isn't optimal for the definition chosen, so you can change it following the steps!
For further support, please contact us via the help button below (bottom right).